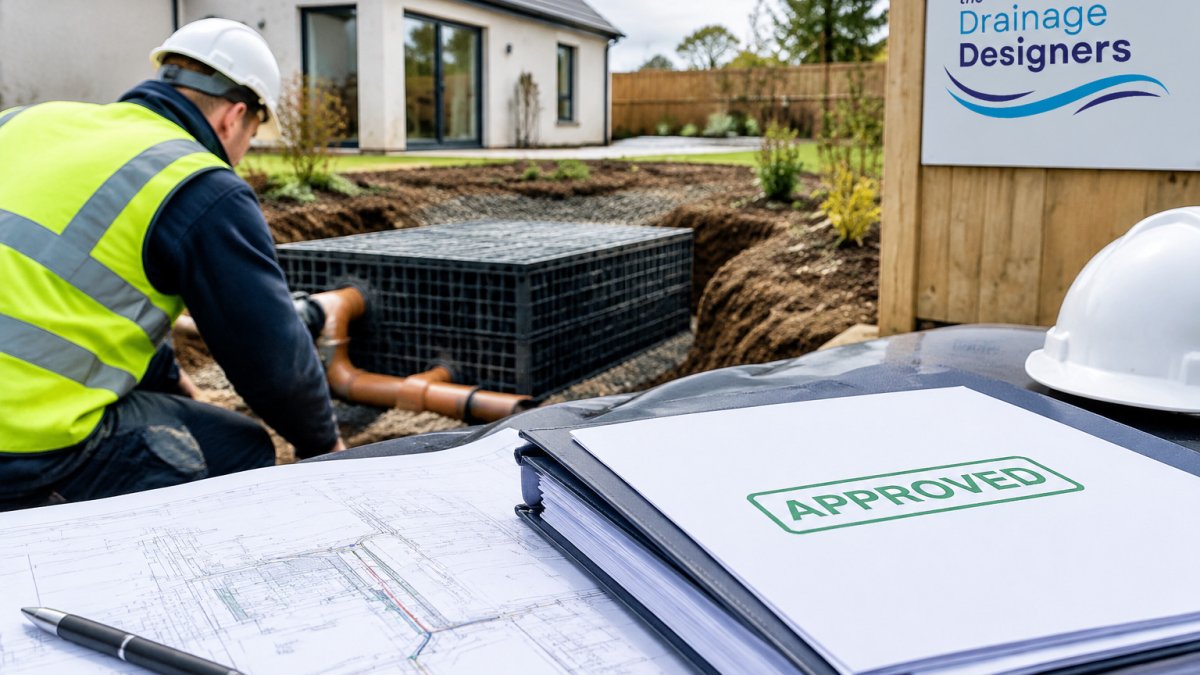
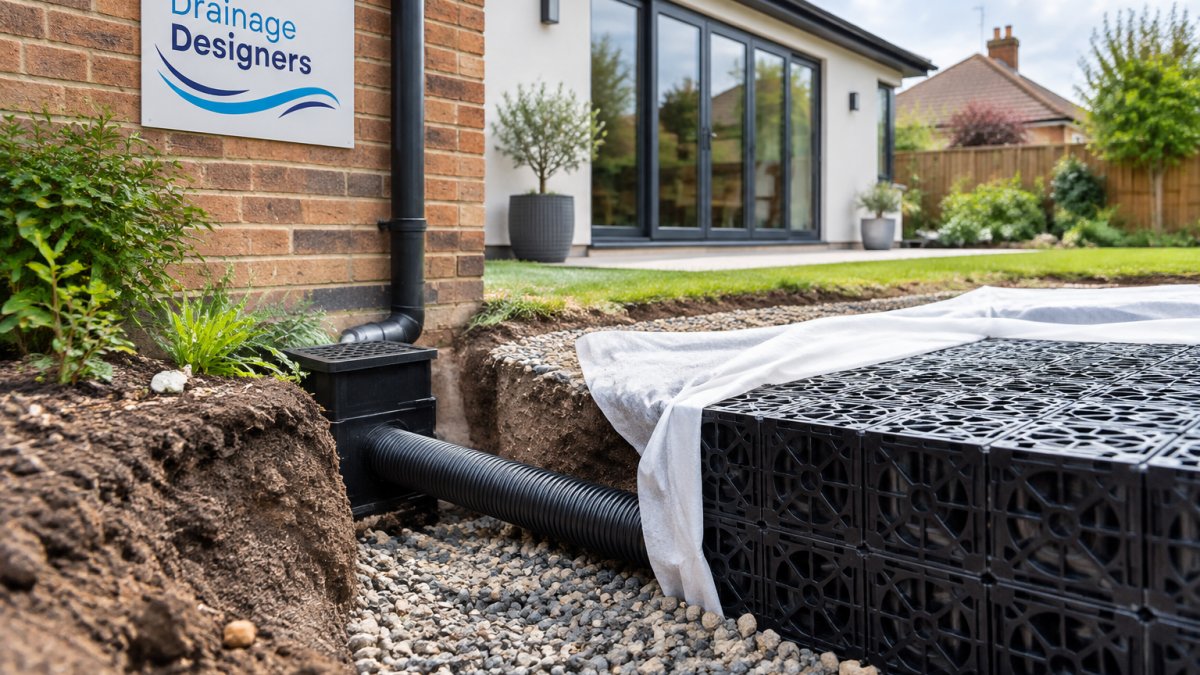
 Knowledge Centre
7 SuDS Strategy Steps for Small Residential Extensions
Last Updated: 4 November 2026
Quick Summary
A suds strategy is a written drainage plan showing how surface water from your extension will be managed without increasing flood risk. Councils check three things: where the rainwater will go, why that route is the best available option, and how the system will be maintained after the build.
- Work down the surface water drainage hierarchy from infiltration, to watercourse, to surface water sewer.
- A percolation test gives the infiltration rate needed to size a soakaway for the extension roof.
- Soakaway crates under a driveway must be rated for vehicle traffic.
- The maintenance plan should state who inspects the system, how often, and what they will do.
- If your site has clay soil or a high water table, consider appointing a professional designer.
Table of Contents
- What a SuDS Strategy Must Prove for a Small Extension
- Applying the Surface Water Drainage Hierarchy to Your Extension
- Soakaway Design Requirements for Extension Runoff
- SuDS Compliance for Planning Permission: What the Local Planning Authority Checks
- Designing the Drainage Strategy: A Step-by-Step Walkthrough
- DIY vs Professional Design: Where the Risk Sits
- Checklist for a Planning-Ready Drainage Submission
- Commissioning Your SuDS Strategy with The Drainage Designers
- Frequently Asked Questions
What a SuDS Strategy Must Prove for a Small Extension
A SuDS strategy is a written drainage plan showing how surface water from your extension will be managed without increasing flood risk.
Councils typically look for proof of three things, rather than a long report:
- Where the rainwater will go
- Why that route is the best available option
- How the system will be maintained after the build
Getting those right helps the drainage condition progress; getting them wrong risks a refusal, a delay, or a condition you cannot discharge.
The Suds Requirements Residential Extensions page sets out the compliance context in more detail before you start writing.
Applying the Surface Water Drainage Hierarchy to Your Extension
The surface water drainage hierarchy is a ranked list of where runoff should go. You work down it from top to bottom, moving to the next option only when the one above is not possible.
This order is set out in national planning practice guidance on sustainable drainage. Councils expect your strategy to follow it.
Rung 1: Infiltration to the Ground
Infiltration means letting rainwater soak into the soil. It is preferred because it keeps water out of sewers and tops up groundwater.
You prove it with a percolation or infiltration test: a specialist digs a trial pit and measures how fast water drains away.
Clay soils, high water tables and contaminated ground can rule it out. When that happens, record the evidence and move down.
Rung 2: Discharge to a Watercourse
A watercourse is a river, stream, ditch or brook. Discharging to one needs the landowner's consent and often a permit from the environmental regulator.
This rung suits sites near open water. The design must control flow rate so the watercourse is not overwhelmed, and you may need to show the discharge will not harm water quality.
Rung 3: Discharge to a Surface Water Sewer
A surface water sewer carries rainwater to a treatment point or watercourse.
The sewer operator may set a maximum discharge rate. Your design must match it, usually with attenuation storage to hold water back and release it slowly.
The Suds Hierarchy Planning Applications page explains how the hierarchy is applied in a live submission.
Soakaway Design Requirements for Extension Runoff
Soakaway design requirements come down to one question: can the ground take the water, and how big does the pit need to be?
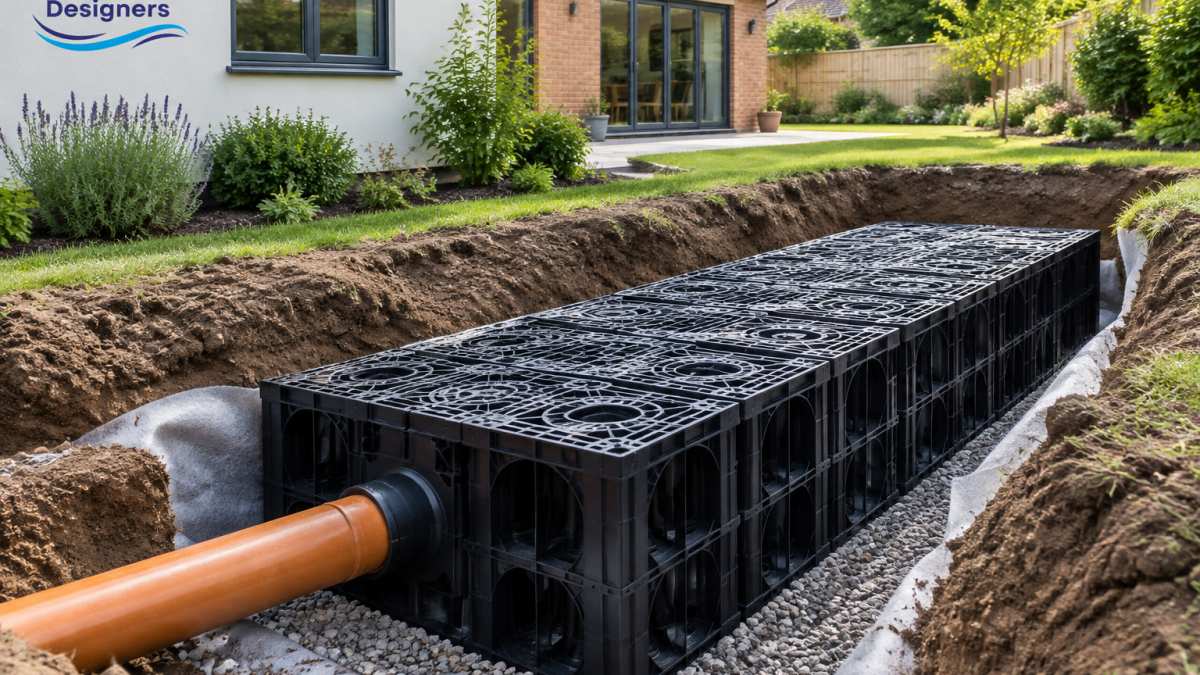
The pit size must come from the infiltration rate and the roof area feeding it. Too small and it backs up in heavy rain; too large and you waste money on excavation and crates.
Step 1: Establish the infiltration rate
You cannot size a soakaway without knowing how fast water drains through the soil.
A test is valid for the specific location and depth tested, so moving or deepening the soakaway may need a new one.
Clay soils, high water tables and contaminated ground can rule out infiltration entirely. If the infiltration rate is very low, or the water table sits within a metre of the pit base, the soakaway may not be viable.
Step 2: Calculate the runoff volume
The volume the soakaway must handle depends on the area of roof and paving draining to it, and on the rainfall intensity for your location.
For a small extension, the roof area might be 20 to 40 square metres, but paving for a new driveway or patio can add significantly more. Every hard surface connected to the soakaway increases the storage requirement.
Step 3: Size the soakaway
The storage volume is not simply the runoff volume. Because water drains through the soil while it enters the pit, the required storage is the difference between inflow and outflow over the storm.
Divide the required storage by the crate volume to get the number of crates, then add a margin for safety and silt accumulation.
Step 4: Position the soakaway correctly
Building Regulations and good practice set minimum distances. A soakaway should be positioned away from buildings and boundaries, and further from foundations if the ground is unstable.
Access for maintenance is often overlooked. Blocked crates are the usual cause of failure, so plan a way to inspect and clear the system. If the soakaway is under a patio, you need a sealed lid or a catchpit upstream to trap silt before it reaches the crates.
Step 5: Specify the right materials
Soakaway crates should be strong enough to take the load above them. If the soakaway is under a driveway, the crates must be rated for vehicle traffic. Geotextile membrane around the pit stops soil from washing in and clogging the voids. A perforated pipe connects the downpipes to the soakaway, and the pipe should have a fall of at least 1 in 100 so water does not sit in it.
Step 6: Write the maintenance plan
The maintenance plan is part of the design, not an afterthought. It should say who will inspect the soakaway, how often, and what they will do. The inspection interval should be set out in the plan, covering the catchpit and inlet pipe, and clearing silt or debris as needed.
The Soakaway Design Requirements Residential Projects page gives the full sizing and specification detail, including worked examples for common extension sizes.
SuDS Compliance for Planning Permission: What the Local Planning Authority Checks
SuDS compliance for planning permission is checked by the local planning authority, often with advice from the lead local flood authority.
The reviewer opens your drainage strategy and looks for:
- A clear hierarchy assessment with evidence
- Site-specific infiltration or ground data
- Runoff calculations that match the site
What most guides miss is that the council is not marking your report.
If your plans were refused on drainage grounds before, read the officer's reason carefully.
The How to Apply for Council Drainage Approval Step by Step guide walks through the application process once you know what is checked.
Designing the Drainage Strategy: A Step-by-Step Walkthrough
Designing a drainage strategy follows a fixed sequence. Work through it in order and the report almost writes itself.
- Gather the site facts. Get the topographical survey, the existing drainage records and the proposed layout.
- Check the ground. Commission an infiltration test if infiltration is a candidate.
- Apply the hierarchy. Record each option and why you accepted or rejected it.
- Calculate the runoff. Work out the volume from the new roof and any new hardstanding.
- Size the system. Set the soakaway, attenuation or rain garden volume to match.
- Draw the plan. Show pipes, levels, storage and outfalls on a drainage layout.
- Write the maintenance plan. Say who clears what, and how often.
- Submit and respond. Answer any council queries with evidence, not opinion.
Each step feeds the next. Skipping the ground test, for example, leaves you unable to justify the soakaway size later.
The design follows a fixed sequence, and each step feeds the next.
| Step | What to do |
|---|---|
| 1 | Gather the site facts: survey, drainage records, proposed layout |
| 2 | Check the ground; commission an infiltration test if relevant |
| 3 | Apply the hierarchy and record each option's outcome |
| 4 | Calculate runoff from the new roof and hardstanding |
| 5 | Size the soakaway, attenuation or rain garden |
| 6 | Draw the plan showing pipes, levels, storage and outfalls |
| 7 | Write the maintenance plan: who clears what, how often |
| 8 | Submit and respond to council queries with evidence |
DIY vs Professional Design: Where the Risk Sits
DIY drainage design is possible for a very simple site. The risk sits in the parts you cannot see until the council rejects the plan. Here is a practical breakdown of which SuDS elements a competent homeowner can install themselves and which need a professional designer or contractor.
SuDS elements you can genuinely DIY
Some SuDS features are simple enough for a homeowner with basic DIY skills, provided they follow the manufacturer's instructions and any relevant Building Regulations.
- Water butts and rainwater harvesting. Connecting a downpipe to a water butt is straightforward: cut the downpipe, fit a diverter, and site the butt on a level base. This reduces the volume reaching the drainage system and is a legitimate SuDS measure for a small extension. Check that the butt is stable and that overflow is directed to a safe place.
- Simple rain gardens. A rain garden is a shallow planted depression that collects runoff from a roof or paving and lets it soak away. For a small extension, dig a depression, improve the soil with compost, and plant suitable species. Keep it away from the building and ensure it can overflow safely in extreme rain. Many homeowners can build a basic rain garden, but the sizing still needs to be right.
- Permeable paving for small areas. Laying permeable paving blocks on a properly prepared sub-base is within the scope of a competent DIYer, provided the sub-base and fall are correct and the paving suits the expected traffic. For a patio or footpath this is achievable; for a driveway, professional installation is safer.
SuDS elements that need professional design or installation
Other elements carry engineering risk or require calculations that most homeowners cannot do. These should be handled by a qualified drainage designer or contractor.
- Soakaways. Sizing a soakaway requires an infiltration test and a runoff calculation, and getting the size wrong leads to flooding or wasted money. Installation involves excavation and connection to downpipes, so a soakaway is not a DIY job for most people.
- Attenuation systems. Attenuation crates or tanks store water and release it slowly to a sewer or watercourse. They require flow control devices and calculations to match the discharge rate set by the sewer operator. This is specialist work.
- Discharge to a watercourse. Any connection to a river or stream needs the landowner's consent and often an environmental permit. The design must control flow rate and protect water quality, so professional advice is essential.
The risk of getting it wrong
The council checks whether the drainage strategy is evidence-led and buildable. A strategy lacking an infiltration test, or using a soakaway size that cannot be justified, risks refusal or conditions. A refusal costs time and money.
Some homeowners assume that because an extension is small, the drainage is trivial. In practice, small sites can be harder because there is less space for a soakaway and the runoff from the new roof may be concentrated.
How to decide
If your site has clay soil, a high water table, a nearby watercourse, or a previous drainage refusal, consider appointing a professional. A design can help avoid delay or a failed application.
The Should You Hire a Professional Drainage Designer? article weighs up the decision in full, including the questions to ask before you appoint someone.
Checklist for a Planning-Ready Drainage Submission
Use this checklist before you submit. It catches the gaps that cause conditions and delays.
- Topographical survey included
- Hierarchy assessment written with evidence
- Infiltration test results attached, or reason for no test
Work down the list and tick each line. Anything left blank is a question the council will ask.
Commissioning Your SuDS Strategy with The Drainage Designers
We provide a nationwide service across the UK, covering both domestic and commercial projects.
Our services include site visits, flood risk assessments and securing local council approvals. We design to Local Authority and Lead Local Flood Authority requirements, and we work to a transparent customer charter.
Get in touch with The Drainage Designers to discuss a compliant SuDS strategy.
Frequently Asked Questions
Do I need a SuDS strategy for a small house extension?
Not always, but many local planning authorities ask for one when the extension adds hard landscaping or increases surface water runoff. A small single-storey rear extension may be exempt if runoff is unchanged, but a larger wraparound or two-storey extension usually needs a drainage strategy. Check your council's validation checklist before submitting, because missing drainage documents are a common reason for refusal.
What are the national standards for SuDS in residential developments?
Local planning authorities and lead local flood authorities apply drainage standards through local policies, and the drainage hierarchy should be followed. Local planning authorities and lead local flood authorities apply these standards through local policies. For small extensions, the key tests are peak discharge rate, volume control and water quality treatment, so your strategy should address each one explicitly.
How do I manage surface water runoff for a small extension?
Start by calculating the additional impermeable area the extension creates, then work down the surface water drainage hierarchy. Infiltration via a soakaway or permeable paving is preferred where ground conditions allow. If infiltration is not viable, discharge to a watercourse or surface water sewer at a restricted rate with attenuation. A simple rain garden can also provide treatment and biodiversity benefits alongside storage.
What is the difference between permeable paving and soakaways?
Permeable paving manages runoff at the surface, letting water pass through joints or blocks into a sub-base before infiltrating or being stored. Soakaways are below-ground chambers or crates that store and infiltrate water from a connected downpipe or drain. Permeable paving suits driveways and patios, while soakaways handle roof runoff. Both need site-specific infiltration testing to confirm they will work.