 Knowledge Centre
5 Best Practices for Drainage Compliance Checklists
Table of Contents
- Why Drainage Compliance Checklists Matter for Planning Approval
- Best Practice 1: Document All Site-Specific Drainage Conditions
- Best Practice 2: Align Your Drainage Strategy for Planning Permission with Local Authority Requirements
- Best Practice 3: Prepare a Comprehensive Drainage Report for Planning Application
- Best Practice 4: Verify Surface Water Drainage Requirements Early
- Best Practice 5: Track Planning Condition Discharge Drainage Throughout the Project
- Common Mistakes That Delay Drainage Approvals
- Frequently Asked Questions
Last Updated: October 14, 2026
Why Drainage Compliance Checklists Matter for Planning Approval
Getting planning permission for a new build or extension hinges on one thing: proving your drainage strategy meets local authority requirements. A drainage compliance checklist isn't optional paperwork, it's your evidence that the design works, won't flood neighbouring properties, and complies with regulations. Without it, councils reject applications outright or issue conditions that delay projects by months.
The projects that move through approval quickly have one thing in common: a thorough drainage compliance checklist completed early, with every requirement documented and verified before submission.
This guide covers the five best practices that separate successful drainage compliance checklists from those that trigger council objections. Follow these, and you'll maximise planning permission success.
Best Practice 1: Document All Site-Specific Drainage Conditions
Your drainage compliance checklist must start with what's actually on the ground. Every site is different, soil type, existing drainage infrastructure, flood risk, ground levels, and proximity to watercourses all change how your design must work.
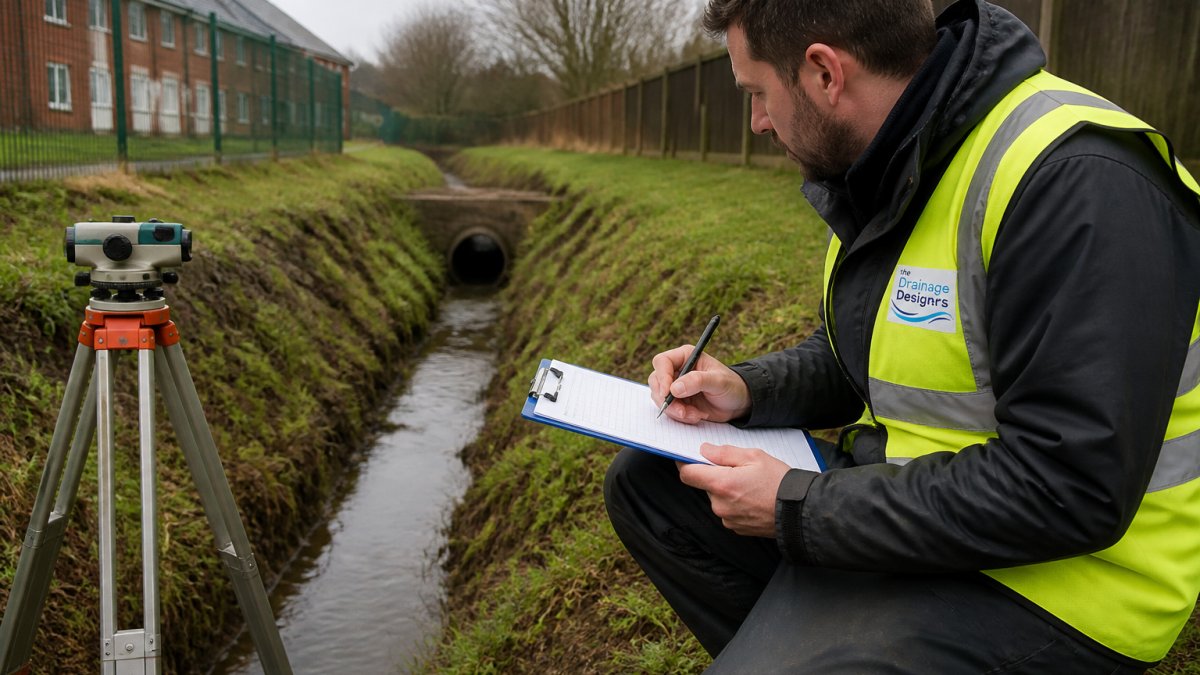
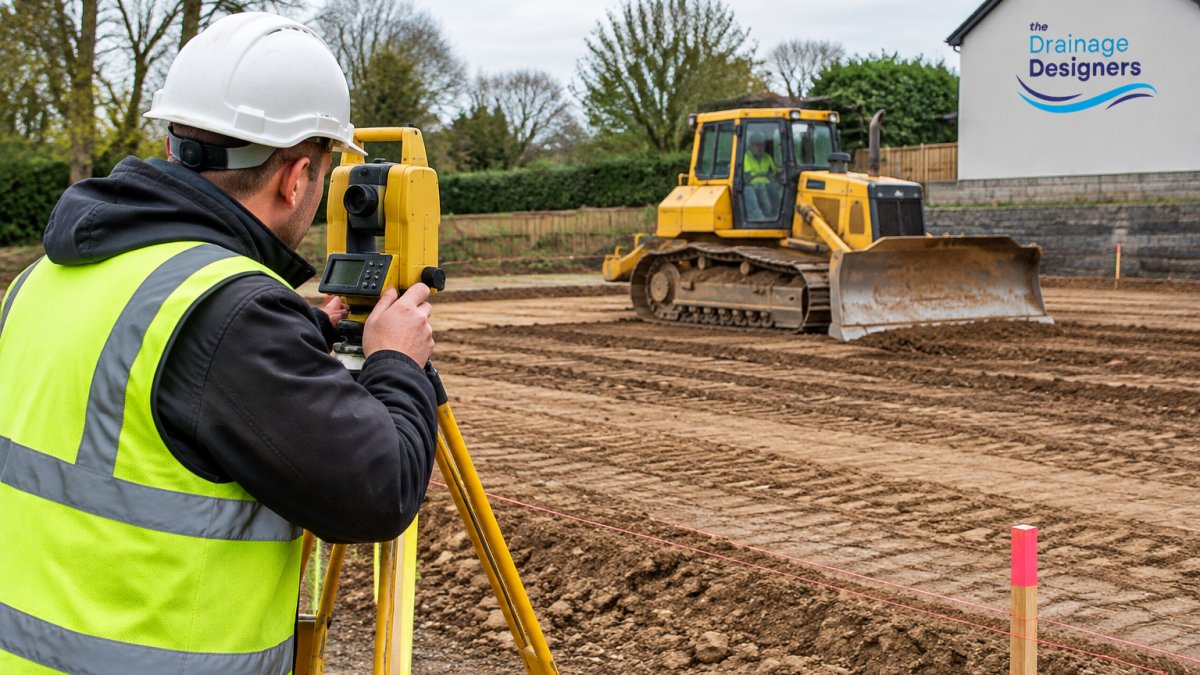
Before you design anything, conduct a thorough site assessment. Record the existing drainage arrangements, where water currently flows, what pipes or ditches are present, and whether they're maintained or neglected. Photograph the site from multiple angles, showing ground slopes, vegetation, and any visible water movement during or after rain.
Check the local flood risk mapping. The Environment Agency publishes flood risk data for every postcode. Note whether your site sits in Flood Zone 1, 2, or 3, and whether surface water flooding is a concern. This determines what mitigation you'll need and what your checklist must prove.
Identify any watercourses, streams, ditches, or formal water bodies, within 50 metres of the site. If one exists, you'll need a buffer zone and may need consent from the Lead Local Flood Authority before work begins. Your checklist must show you've accounted for this.
Record ground conditions: is the soil clay, sand, or chalk? Can it infiltrate water, or will you need alternative drainage? A simple percolation test (or infiltration assessment) answers this and becomes a key checklist item. Document the water table level if boreholes or trial pits reveal it.
Best Practice 2: Align Your Drainage Strategy for Planning Permission with Local Authority Requirements
Every local authority has its own drainage requirements, and they vary more than most practitioners expect. Some councils demand Sustainable Drainage Systems (SuDS) for all new development. Others have specific guidance on adoption, maintenance, and long-term responsibility. Your drainage strategy for planning permission must match what your council actually wants, not what you think it should want.
Request the local authority's drainage and flood risk guidance before you design. Most councils publish this online, but phoning the planning department to ask directly saves time. Ask specifically:
- Do they require SuDS for this type of development?
- What's their policy on infiltration versus piped discharge?
- Who must maintain surface water drainage long-term, the householder, a management company, or the water authority?
- Are there any local flood risk issues that trigger additional requirements?
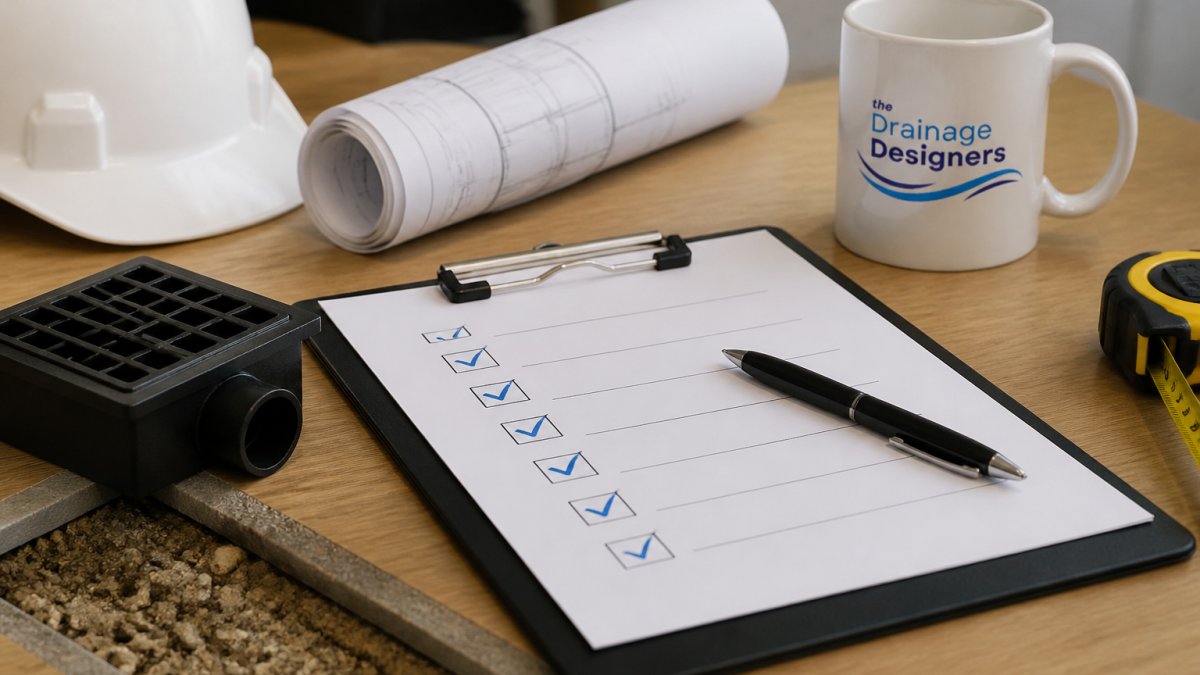
Your drainage compliance checklist must then list each requirement and show how your design meets it. If the council requires SuDS, your checklist confirms what type you're using (permeable paving, rain gardens, attenuation tanks) and how it's maintained. If they require a Sustainable Drainage Statement, your checklist ensures every section of that statement is complete and evidenced.
The Lead Local Flood Authority (LLFA) also has a say. They review drainage for sites over 1 hectare or where surface water discharge changes. Your checklist must show you've consulted their guidance and addressed their concerns before submission.
Best Practice 3: Prepare a Comprehensive Drainage Report for Planning Application
Your drainage report for planning application is the document that backs up your checklist. The checklist itself is a verification tool; the report is the evidence. The two work together.
The drainage report for planning application should include:
- Site location plan and survey showing existing and proposed ground levels
- Existing drainage arrangements and how they'll be affected
- Proposed drainage design with pipe runs, gradients, and invert levels
- Calculations proving the system can handle the rainfall it will receive
- Flood risk assessment if required by local policy
- Sustainable Drainage Statement if SuDS are proposed
- Maintenance and adoption arrangements
- Confirmation of any consents needed (Lead Local Flood Authority, water authority, environmental permits)
Your drainage compliance checklist then references each of these sections and confirms it meets the requirement. For example:
"Flood risk assessment completed, confirms site in Flood Zone 1, surface water mitigation via attenuation tank sized for 1 in 100 year storm plus 40% climate change allowance."
This approach shows the council you've thought through the design systematically. It also makes it obvious if something's missing before you submit.
Best Practice 4: Verify Surface Water Drainage Requirements Early
Surface water drainage requirements are where most projects stumble. Councils and the Environment Agency have tightened standards significantly, and what worked five years ago may not pass today.
Surface water drainage requirements now typically demand:
- Attenuation of runoff so discharge rates don't exceed the pre-development rate (or 5 litres per second per hectare, whichever is lower)
- First-flush treatment to remove sediment and pollutants
- Permeable surfaces where feasible (driveways, parking, patios)
- SuDS design that mimics natural drainage and provides amenity or biodiversity benefit
- Maintenance access and long-term responsibility clearly defined
Check these requirements for your specific site and authority early, before detailed design starts. A site that can't accommodate attenuation without excessive cost or land take needs to be flagged immediately, not discovered during planning review.
Your surface water drainage requirements checklist should confirm:
- Design rainfall event (usually 1 in 100 year storm plus climate change allowance)
- Attenuation volume calculated and achievable on site
- Discharge location and rate agreed with water authority or Lead Local Flood Authority
- Maintenance arrangements documented and signed off by the responsible party
- First-flush treatment specified and sized
Many applications fail because the surface water drainage requirements weren't verified early enough to allow design changes. Verify them at the start of the project.
Best Practice 5: Track Planning Condition Discharge Drainage Throughout the Project
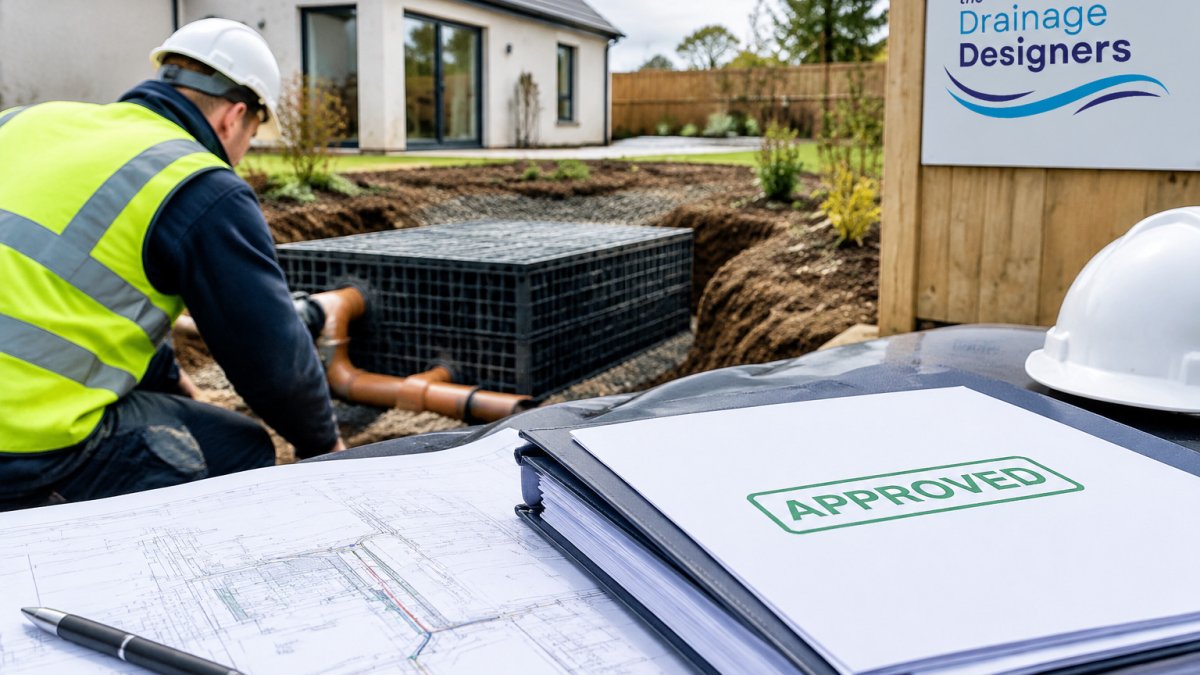
Planning conditions related to drainage often aren't discharged until the system is built and tested. Your drainage compliance checklist must evolve as the project progresses, tracking each condition from approval through completion.
Common planning conditions include:
- Submission and approval of detailed drainage design before construction
- Proof of adoption or maintenance agreement before occupation
- Completion certificate from the installer or designer
- As-built plans showing what was actually installed
- Maintenance and operation manual for SuDS features
Create a separate section in your project checklist for each condition. As work progresses, collect evidence: signed-off designs, photographs of construction, test certificates, maintenance schedules. Don't wait until practical completion to gather this, it's far harder to find documentation retrospectively.
Assign responsibility: who will submit each document, and by when? The drainage designer, the contractor, the developer, or the client? Make this explicit in your checklist so nothing falls through the cracks.
The local authority will ask for condition discharge evidence before they issue a completion certificate. Having your drainage compliance checklist up to date throughout the project means you can discharge conditions promptly and keep the project on schedule.
Common Mistakes That Delay Drainage Approvals
Most drainage rejections or conditions stem from a few predictable mistakes. Recognising these now saves months of delay.
Assuming the council's requirements match national guidance. National standards exist, but councils often add local requirements. A site in a flood-prone area may need far more rigorous drainage design than Building Regulations alone demand. Always ask the council directly, not just the water authority.
Designing without confirming ground conditions. Infiltration-based drainage works brilliantly on sandy soil and fails completely on clay. A percolation test early in the process determines what's actually possible. Submitting a design that assumes infiltration when the soil won't allow it guarantees rejection.
Neglecting the Lead Local Flood Authority. Many teams focus on the water authority and overlook the LLFA. Both have a say on larger sites or where surface water discharge changes. Missing one of them means your approval is incomplete.
Treating SuDS as optional. Most councils now require SuDS unless you can prove it's genuinely unfeasible. A checklist that doesn't address SuDS raises immediate questions. Show what you're using (permeable paving, rain gardens, swales, attenuation tanks) and how it's maintained.
Leaving maintenance responsibility unclear. Councils reject designs where long-term maintenance is ambiguous. Is the householder responsible? A management company? The water authority? Your checklist must confirm this is settled and documented before submission.
Submitting without discharge location agreed. Designing a system that discharges to a watercourse or public sewer without prior agreement from the water authority or Lead Local Flood Authority wastes weeks. Confirm discharge location and rate in writing before your design is finalised.
Getting drainage compliance right from the start accelerates planning approval and prevents costly redesigns. The Drainage Designers (Woodvale consulting Ltd) works with homeowners, architects, and developers across the UK to deliver drainage compliance checklists. We handle site assessment, design verification, and planning condition discharge, so your project stays on schedule. Get in touch to discuss your drainage strategy for planning permission and how we can simplify the approval process.
Frequently Asked Questions
What should a drainage compliance checklist include?
A comprehensive drainage compliance checklist must cover site survey data, existing drainage infrastructure, flood risk assessment findings, proposed drainage design details, calculations confirming capacity, compliance with Building Regulations and planning policy, maintenance and adoption arrangements, and evidence that all Local Authority and Lead Local Flood Authority requirements have been addressed. The checklist should also document which planning conditions relate to drainage and how each will be discharged.
What is the difference between a drainage strategy for planning permission and a drainage report for planning application?
A drainage strategy outlines your overall approach to managing surface water and foul drainage, showing how the site will connect to existing infrastructure and comply with policy. A drainage report goes deeper, providing detailed calculations, site survey data, flood risk analysis, and justification for every design decision. Both are often required together for planning approval, but the strategy answers 'what will you do' whilst the report answers 'why and how will it work'.
When should surface water drainage requirements be checked during a project?
Surface water drainage requirements should be verified at the earliest stage, ideally before detailed design begins. Check the Local Authority's drainage and flood risk policies, identify whether the site is in a flood risk area, and confirm whether Sustainable Drainage Systems (SuDS) are required. Early identification prevents costly design revisions later and ensures your proposals meet policy before submission, reducing the risk of planning conditions or refusal.
How do you demonstrate that planning condition discharge drainage has been completed?
Maintain a record of all drainage-related planning conditions and gather supporting evidence as work progresses: photographs of installed drainage features, inspection reports from the contractor, certification from the drainage designer, maintenance manuals, and correspondence with the Local Authority confirming discharge. Submit these documents to the Local Authority's condition discharge team before final approval, clearly referencing the original condition number and explaining how it has been satisfied.